How Do They
Build An Inground Swimming Pool?
|
On this page we will show you
some actual construction photos from a few inground swimming pool
installations. These photos
cover steel wall pools, polymer (plastic) wall pools, vinyl liner inground pools,
and gunite (plaster/cement) pools. We'll give you a brief description of each photo to
explain each stage of pool construction. This should give you
a better idea of the construction process when buying a pool.
Please note that the installation process for each type of pool
(vinyl, steel, polymer, gunite, plaster, cement) is significantly different
and times have changed a bit since this article was
written but you will get the idea. |
| Now, let's discuss price: Below is a chart of rough
prices for various sized inground pools. Please
realize that these are only rough prices and that building costs do
vary greatly from state to state - and pricing also depends a
lot on the specific features and options you decide
to add to your pool |
.
Rough
Average Base Prices
(very few options) for Inground Swimming Pools Across The USA
(prices do not include deck work, fencing, heaters, or other
high-end options)
|
Size |
Steel
Walls / Vinyl Liner |
Polymer
Walls / Vinyl Liner |
Cement
or Block Walls / Vinyl Liner |
Gunite
/ Cement |
| 16 x 32 |
$20,000 |
$21,000 |
$22,000 |
$47,000 |
| 18 x 36 |
$24,000 |
$25,000 |
$25,000 |
$58,000 |
| 20 x 40 |
$35,000 |
$30,000 |
$38,000 |
$69,000 |
Inground
Swimming Pool
Construction Photos
For Steel and Polymer Walled Pools
with Vinyl Liners
Photos Provided By Paramount
Pools, Patriot Pools, Plum Perfect Pool & Spa
|
|
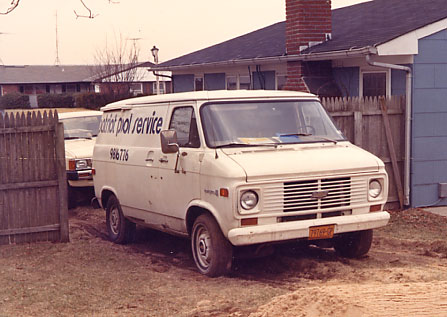
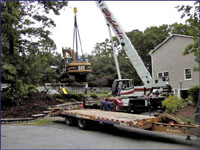
The Pool Guys show up to work
on your new swimming pool! |
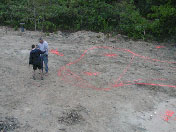 |
The area of your Backyard
where you want the pool located is marked out. |
|
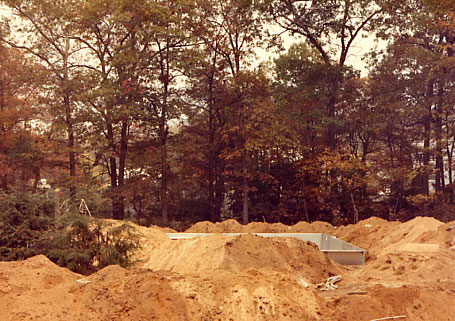
The excavator
digs a big hole in your yard, pretty much making a big mess of
your previously nice looking lawn. |
 |
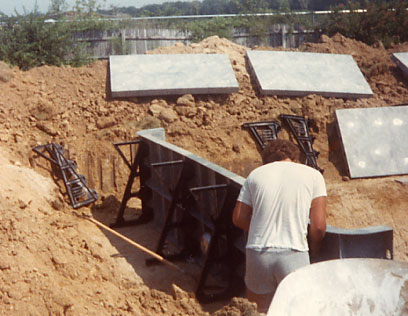
The Pool Guys start to put up
the wall panels - in these cases, they are steel walls. |
 |
Here you can
see the pool kit being put together. There is a transit
in the middle of the shallow end to make sure the walls are
all the same height. You can see that a step has been
added. |
 |
This shows the Pool Guy
putting together a polymer (plastic) pool kit. The
construction process is the same as a steel kit - except the
walls and braces are made of a different material. |
 |
Now they are
setting the pool wall panels on blocks so they can make sure
they are all the same height and are at the right grade level. |
 |
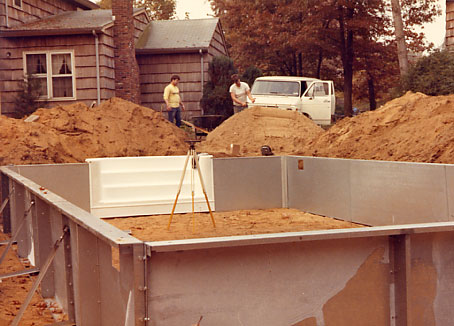
Now the options are added to
the pool, in this case a walk-in step unit. Notice that
some of the plumbing pipes are starting to be run around the
pool as well. |
 |
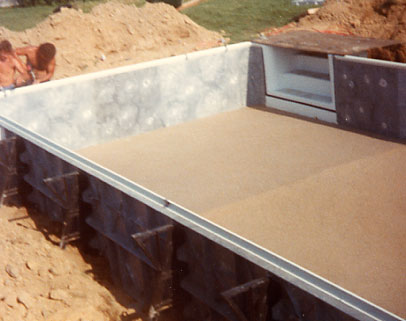
Here you can
see a lonely skimmer that has been installed toward the end of
the pool wall. You can also see that the Aluminum
Receptor Coping that the homeowner picked out has been started
(the white metal piece screwed to the top of the wall). |
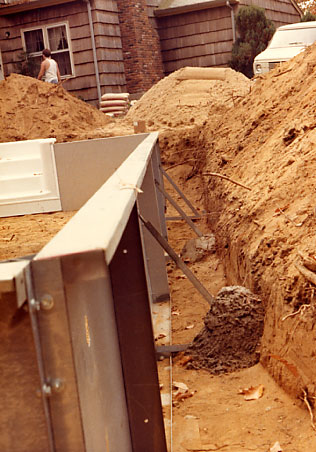 |
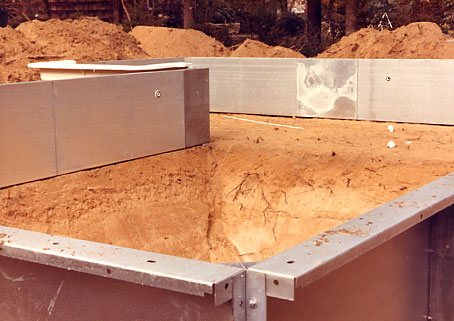
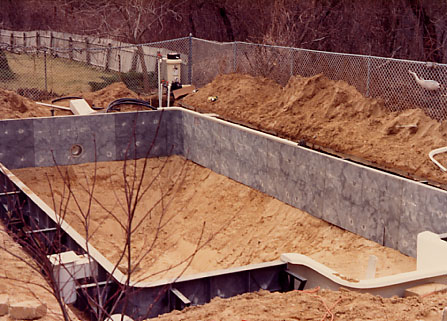
The braces must be
attached to each pool panel. They are the metal pieces
you see here at an angle to the pool wall. Cement must
be poured on each brace after the wall has been set to the
right height and is plumb. The cement helps to keep the
wall in place when it is being backfilled. It also adds
strength for when the water is put into the pool. Later
on, a solid concrete collar is poured around the bottom
of all of the panels to ensure stability. |
 |
Here you can see a cement
truck getting ready to pour the concrete collar that will
stabilize the entire pool wall installation. |
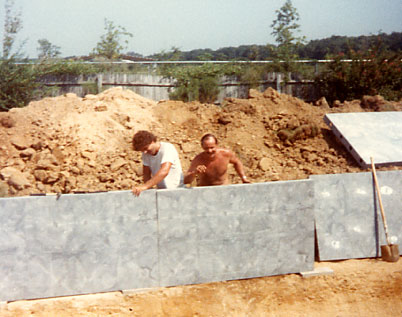
 |
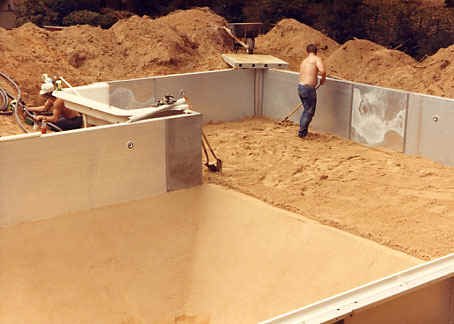
Here is a
polymer wall pool kit after all the walls have been set - and
options such as skimmers, steps and jets have already been
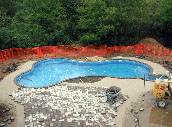
installed. It is ready for the pool floor to be floated. |
 |
The pool floor must have sand
added to it to make a nice smooth, comfortable pool
bottom. In this photo, you can see that the deep end of
the pool (the hopper) has already been floated.
This means that the sand is smoothed out with trowels.
This is actually the step where your pool shape comes to life
and you can finally get an idea what your pool may look like
when it is done! Notice the difference in the pool floor
in the photo between where the Pool Guy is standing and in the
hopper. |
 |
In this photo,
you can see how nice and smooth the whole pool floor looks
after it is troweled and floated. |
 |
Some customers prefer to
have the floor of the pool made of cement rather than
sand. This photo shows a cement bottom that has been
installed in this pool. |
 |
Some customers prefer to
have a foam padding installed on their pool walls prior
to the liner being installed. This photo shows the guys
installing that wall foam. |
 |
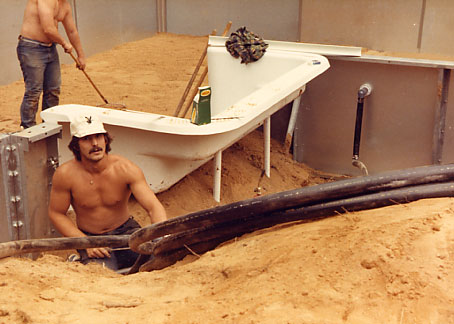
Once the pool floor is ready,
it is time to get ready to put the pool liner in. In
this photo, you can see it rolled up at the end of the pool -
ready to be installed. This is usually a nervous time
for both the installation crew and the pool owner ! Hope
it fits. Hope it is the right color. Hope it
doesn't rip ! |
 |
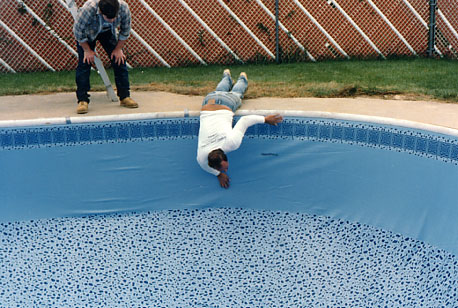
Once the liner
is put into the pool (otherwise known as dropping the bag),
the installers will hang into the pool to make the fine
adjustments necessary to guard off wrinkles in the
liner. In a new pool, there should not be that many
wrinkles (although sometimes a few cannot be helped). |
 |
Now it is time to fill the
pool up with water. If you are friendly with your
neighbors, it doesn't hurt to ask them if you could borrow a
little water :o). The more neighbors and hoses - the
faster the pool will fill ! |
 |
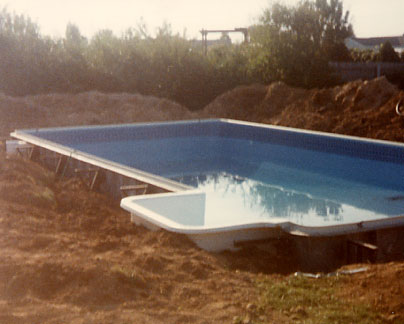
After the pool
is filled with water and backfilled with dirt (the dirt
to fill in the area around the pool walls), the dive board
stands and ladder and rail cups can be cemented in. |
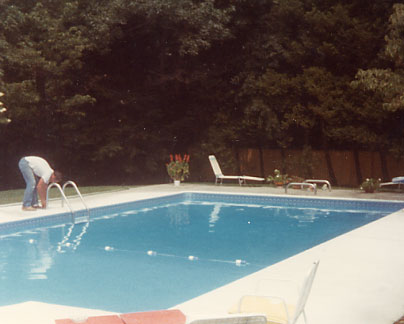
 |
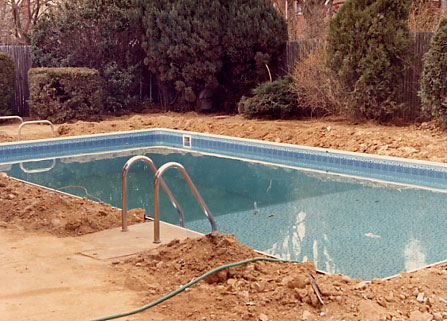
After the dirt around the
pool has settled for a few weeks, the cement, bricks or other
deck-work can be added to the pool area.
After that, the
ladder, rails, diving board, landscaping and other finishing touches can be
installed.
Then it's time to jump in and enjoy your brand new pool !
|
Inground Swimming Pool Construction Photos
For Gunite ( Cement / Plaster ) Swimming Pools
Photos Provided By
South Shore Gunite Pool & Spa
 |
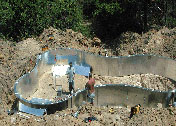
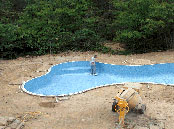
The excavator comes in and digs
the hole for your pool. |
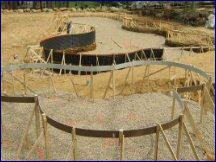 |
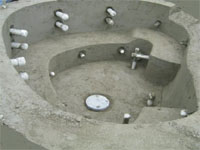
Next, the actual form, or
shape, of your pool is outlined using wood framing. |
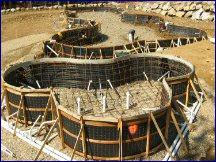 |
Then the wood frame is
actually shaped into the swimming pool with steel rebar. |
|
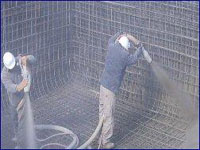 |
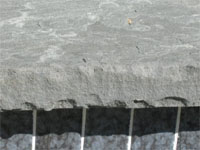
After the shape is perfect,
then gunite, or shotcrete, is power sprayed into the
form, actually 'making' the pool. |
 |
Here you see what it looks
like when dry. |
|
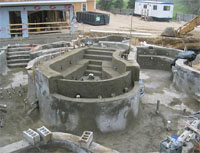
Before
After |
In these photos, you get a
good 'before' and 'after' view. |
 |
Next, the plumbing fittings
are installed. |
 |
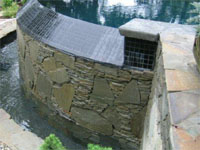
Then, other elements such as
rocks or boulders can be set in. You can be quite
creative with the design of these type of pools. |
 |
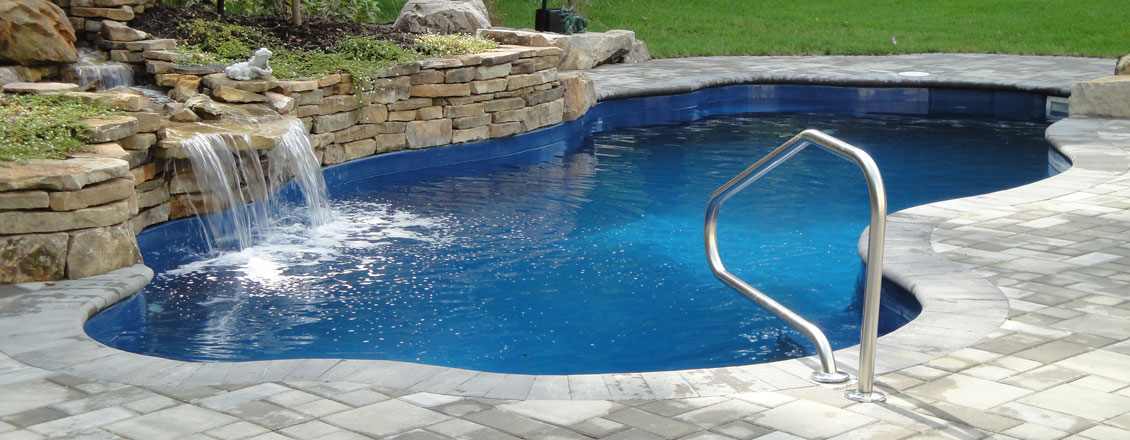
This is a nice close up of the
rock coping, or decking, that is going on this pool.
Also note the inset tile at the top of the pool wall. |
 |
The actual surface of the pool
walls and floor then get installed. You can chose
tile, Diamond Bright, gunite, marble dust, plaster or
paint for your surface. The cost of the surface
can vary greatly. |
 |
Here you can see details of
some high end elements added to this pool which include
an overflow to give it that 'negative edge' type look
from inside the pool. |
 |
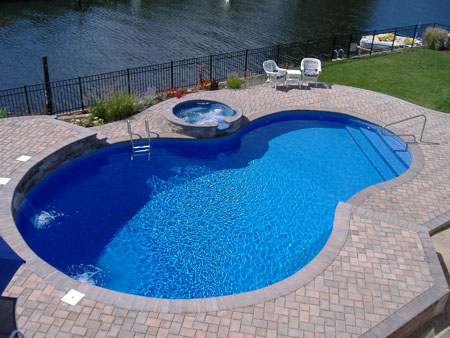
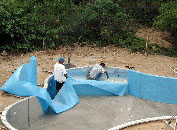
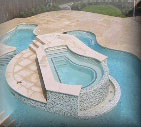
Here is a finished pool which
is sort of a 'natural' or 'lake effect' swimming pool.
Time to jump in and go for a swim ! |
Photos courtesy of Paramount Pools,
Patriot Pools, South Shore Gunite Pools and Plum Perfect Pools.


© Copyright 1994-2019 by
PoolAndSpa.com. All rights reserved. No part of this
electronic publication and it's contents may be
reproduced, electronically
or otherwise, nor distributed in any
manner without the prior expressed written consent of PoolAndSpa.com. Any Copyright infringement will
be prosecuted to the fullest
extent of the law.

|